

The steps in this guide are the same for the Trezor Model T and the Trezor Model One. The walkthrough uses the Trezor Model One.
Before you start: what has changed since 2023
The screenshots were taken in July 2023. Since then Trezor has released the Safe range (Safe 3, Safe 5 and Safe 7), and the Trezor Suite app has a new look. The order of the steps is the same: firmware, creating the wallet, the backup, the PIN, the coins. Two things are different on newer devices:
- The PIN. The grid with scrambled numbers shown below exists only on the Model One. On the Model T and the Safe devices you type the PIN on the device itself.
- The number of words. Depending on the device and your choice, the backup may have a different number of words from the Model One's 24. Write down exactly as many as the device shows you.
Always buy from the official store or an authorised reseller, never a second-hand device. Our Trezor review explains why.
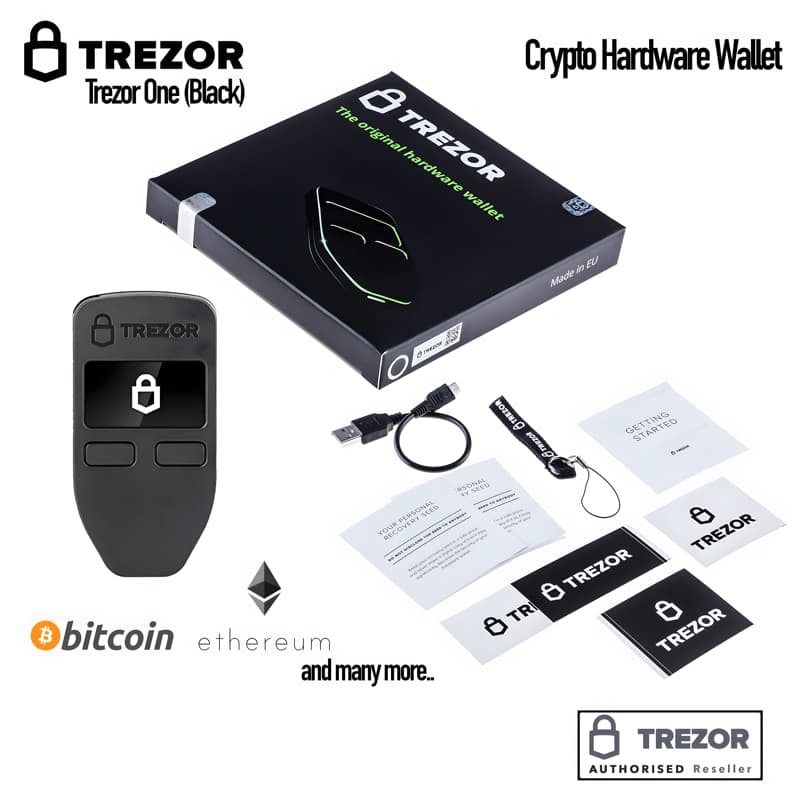
What is in the box
The Trezor Model One box contains the items below.
Installing Trezor Suite
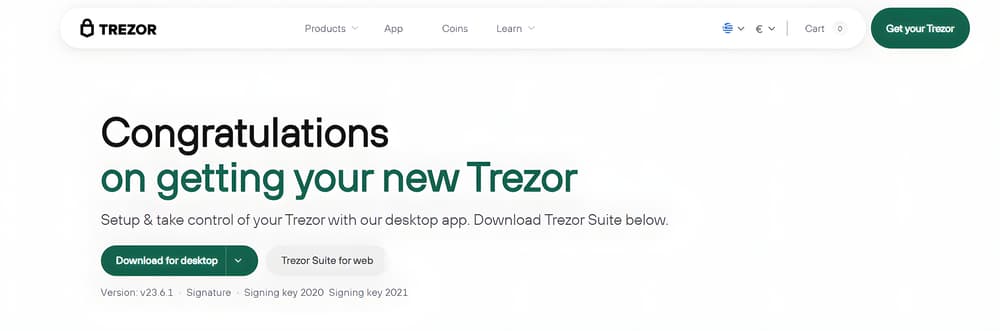
Download the Trezor Suite app for your computer, on Windows, Mac or Linux. Be very careful to visit the right website, trezor.io, because there are a lot of scams out there.
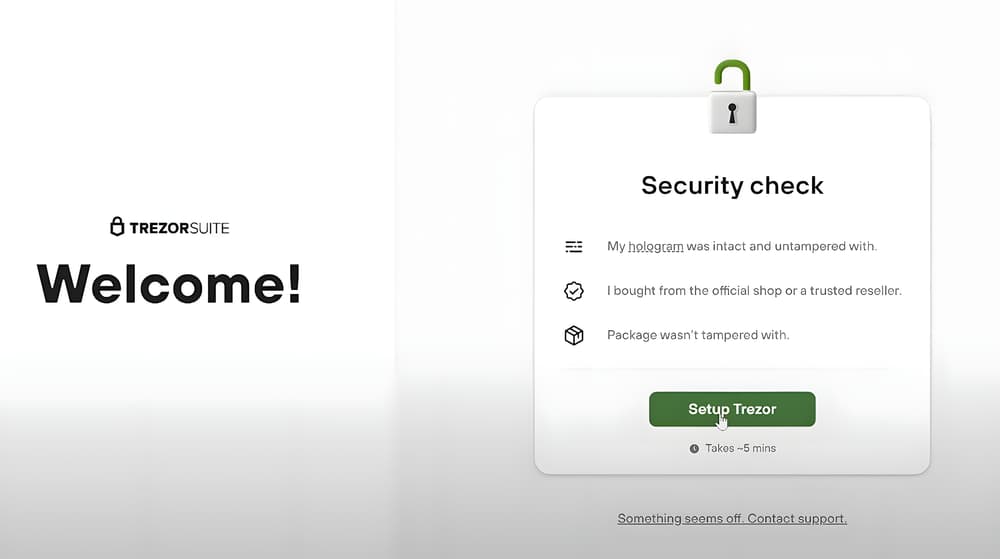
Once you have installed and opened the app, the first thing to do is connect your hardware wallet to your computer with the USB cable Trezor supplies. Then click Setup Trezor.
Updating the firmware
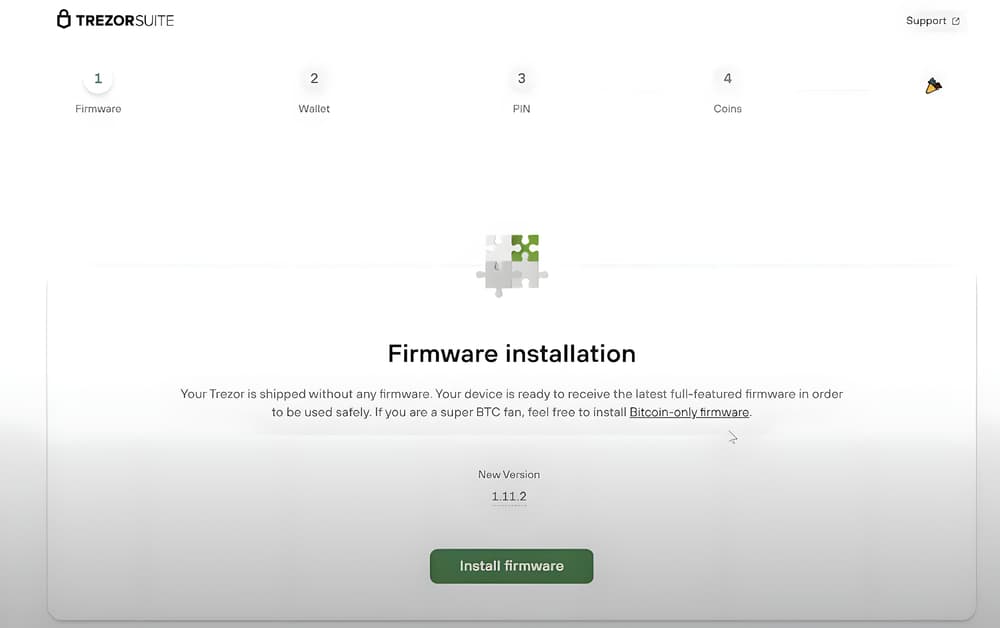
Next, click Install firmware to update your hardware wallet's software to the newest and most secure version.
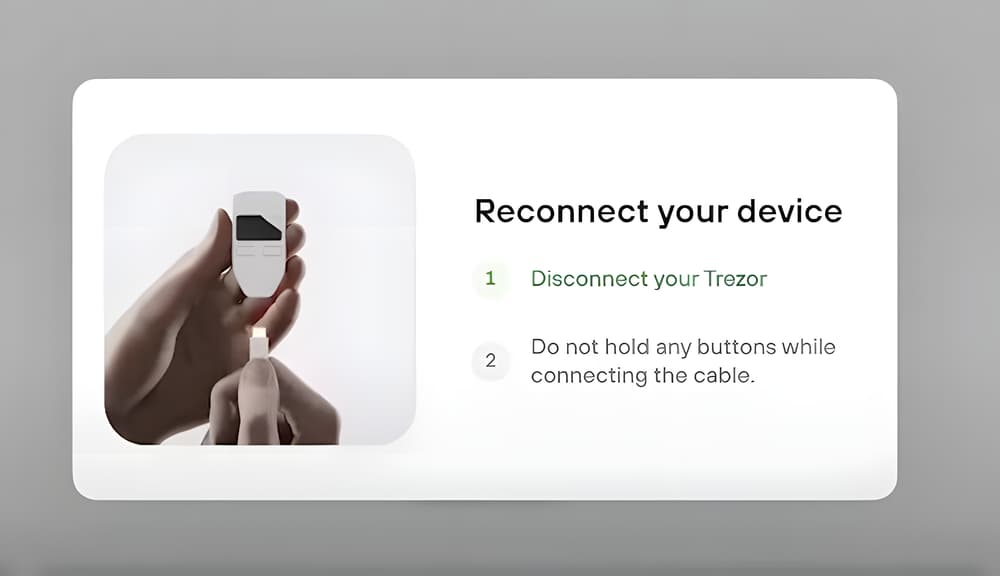
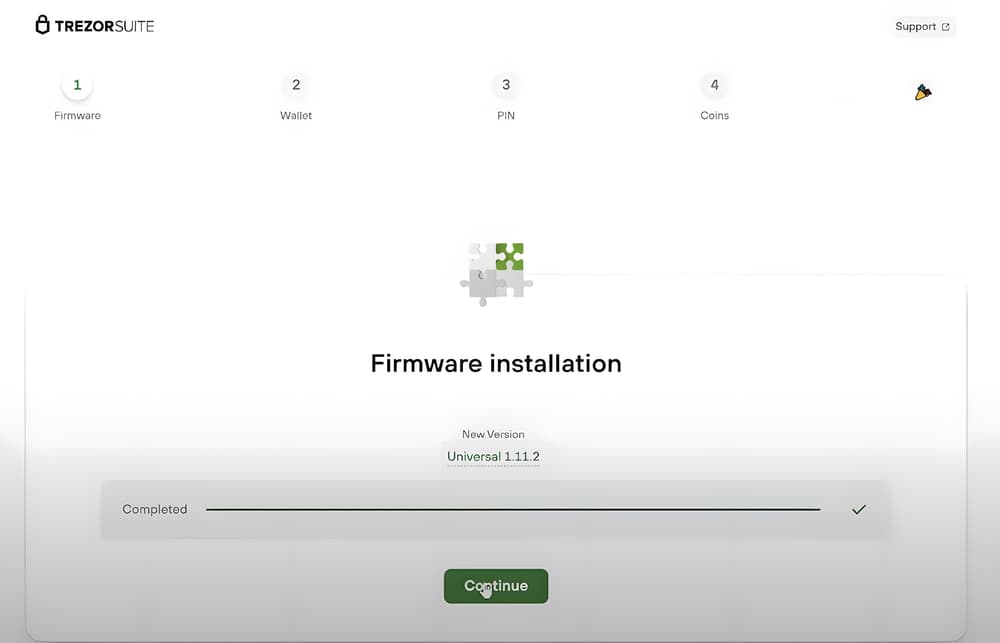
To finish the installation properly, the software will ask you to disconnect your wallet, and you wait until the device shows a message saying it has been updated. Then you reconnect it to your computer, the software tells you the update is complete, and you click Continue.
Creating the wallet
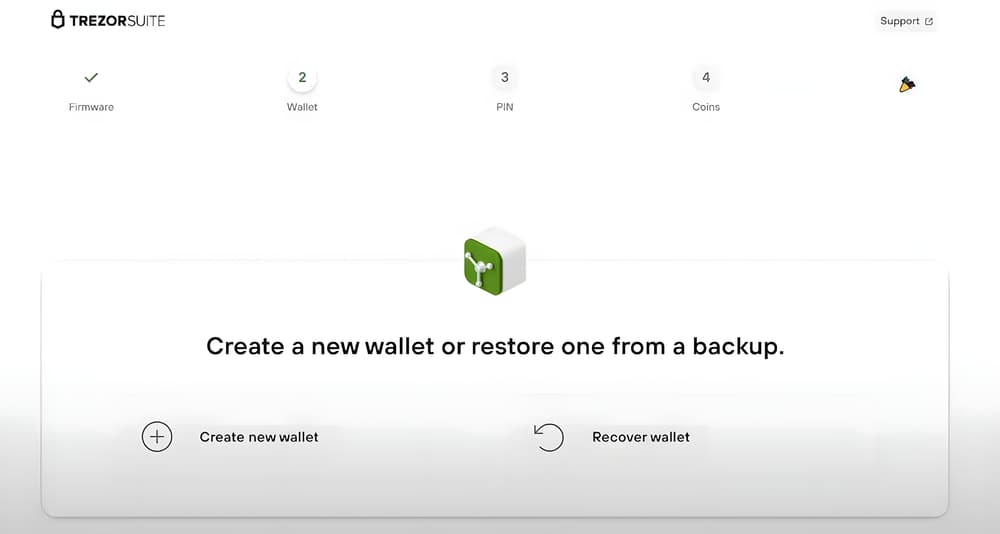
At this point click Create new wallet, so that you create your own wallet inside the Trezor.
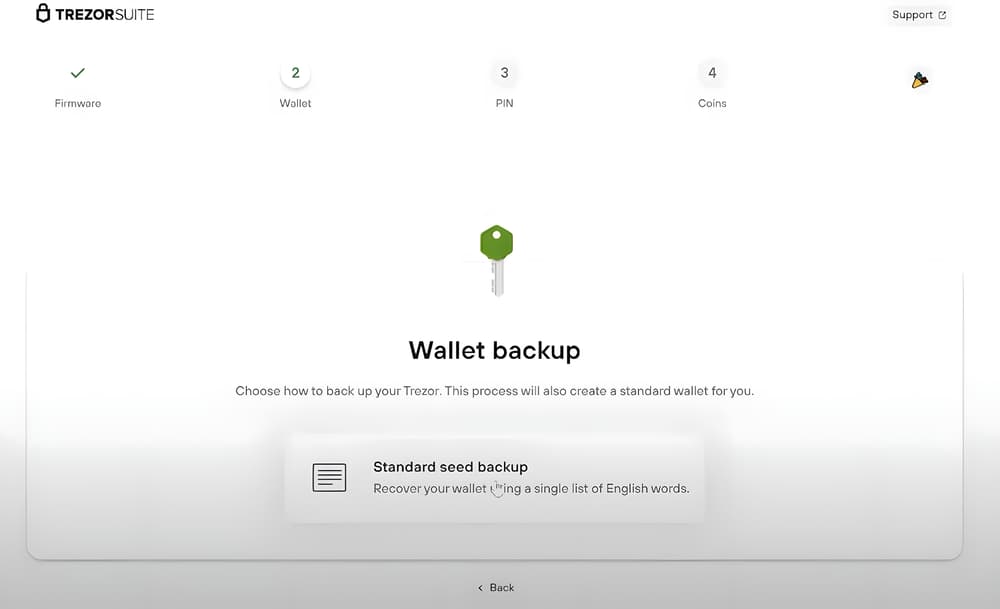
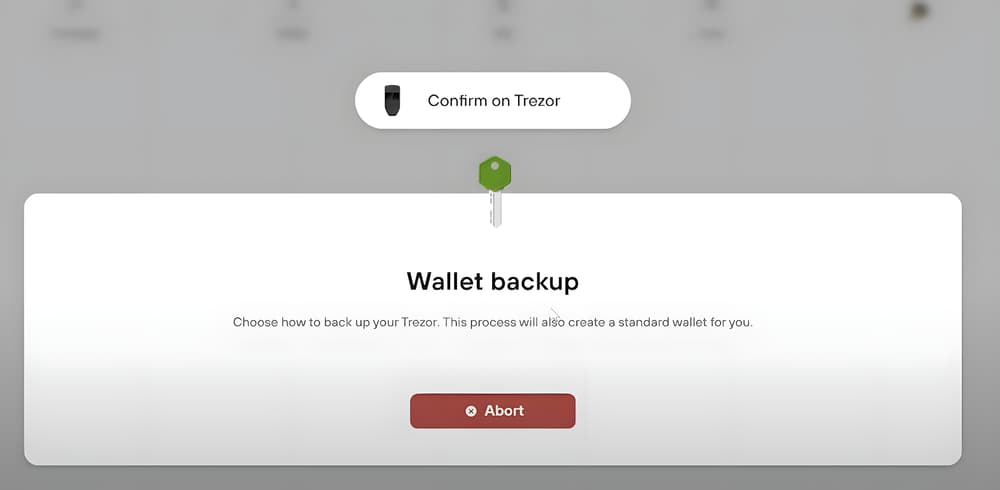
The next step is to click Standard seed backup. Once you choose it, turn to your cold wallet, which will ask whether you want to create a new wallet. You confirm the creation of the wallet on the device.
The recovery words
Then you go back to the software and click Create backup.
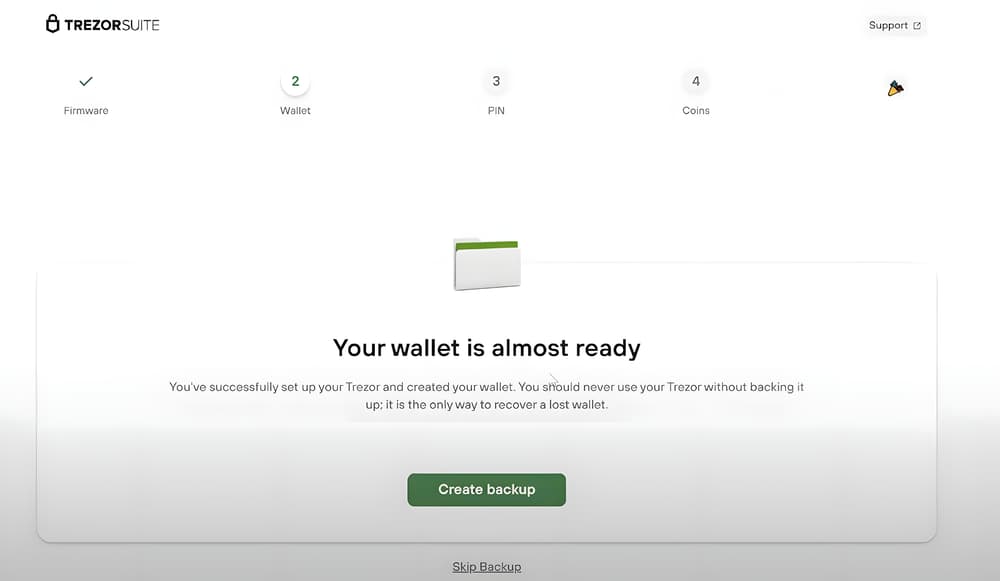
That takes you to the screen below, where you are asked to tick 3 boxes. Each box carries useful advice on protecting your private keys. Once you have ticked them, click Begin backup.
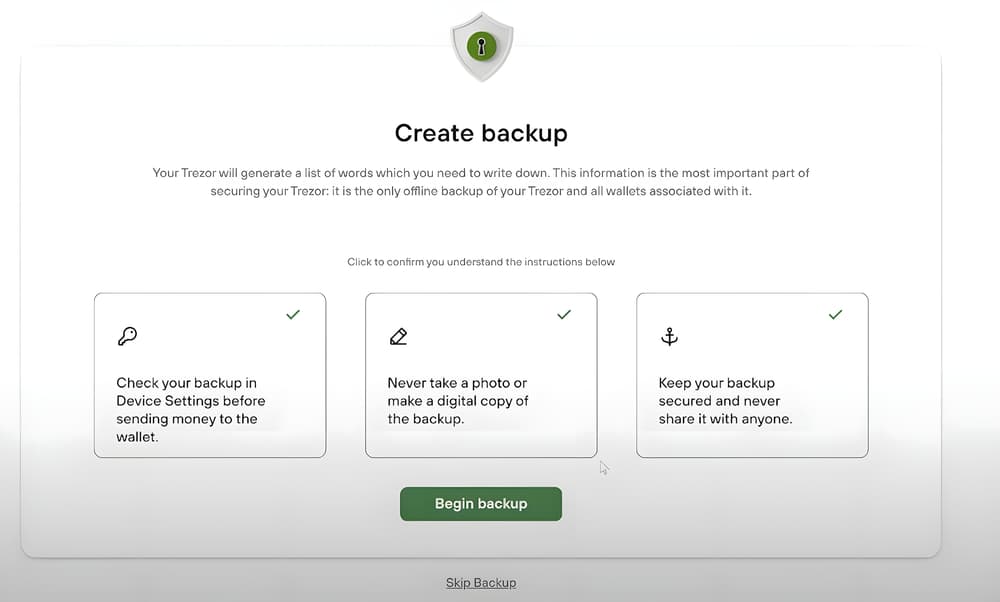
The device then starts generating the recovery words and will show them to you twice. It shows the words from the first to the twenty-fourth, and straight after that from the first to the twenty-fourth again. That lets you make 2 copies, or check that every word you wrote down is correct.
Write the words on paper, in order. Do not photograph them, do not type them anywhere, and do not store them on a computer or a phone. Whoever has these words has your crypto.
Setting the PIN
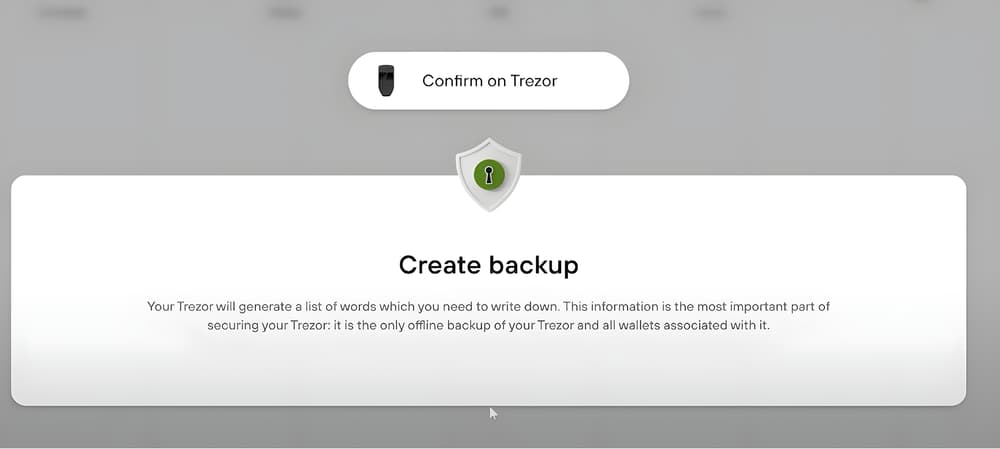
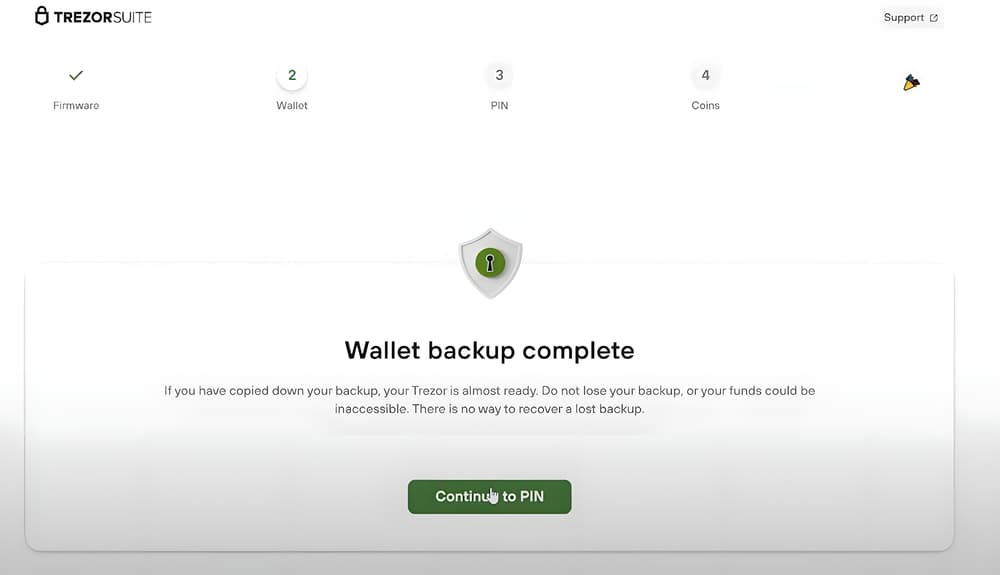
Once your hardware wallet has shown the recovery words twice, the software tells you the process is finished and asks you to choose Continue to PIN, so that you create a PIN for your device. Then click Set PIN and confirm on the device that you want to create a new PIN.
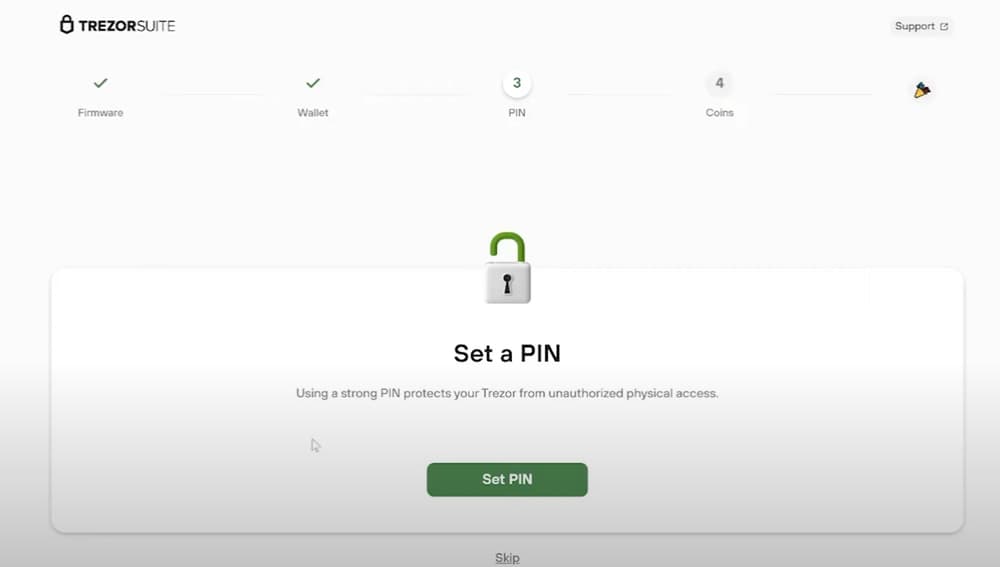
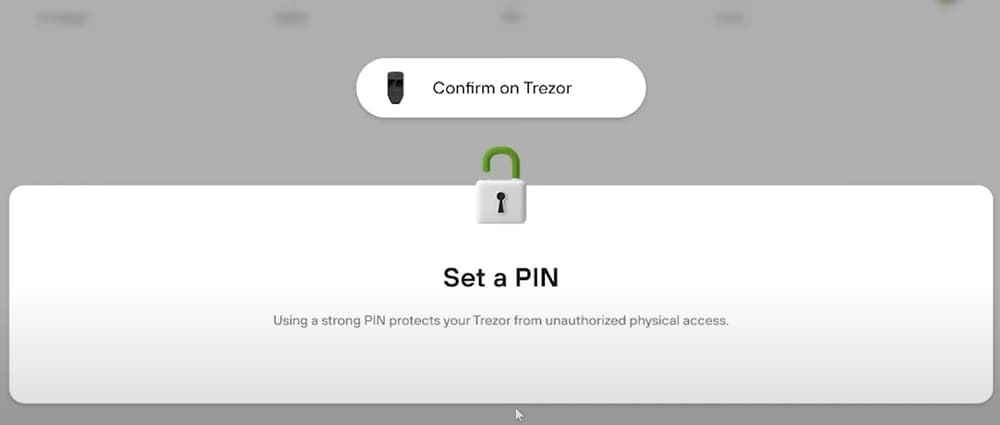
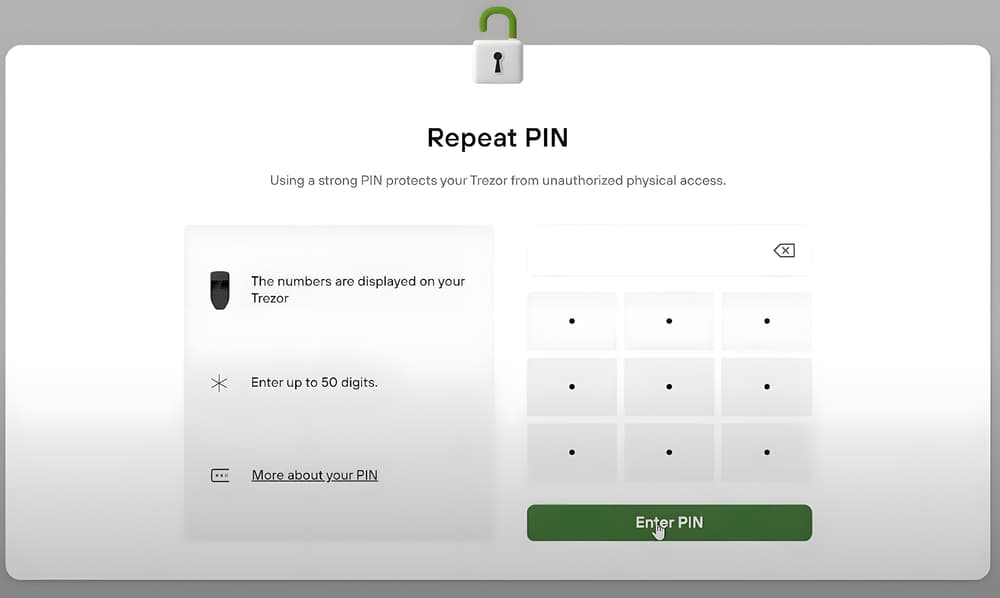
The next screen in the software is the one below. Here you choose your PIN, up to 50 digits, from the 9 buttons you see. As you will notice, the buttons have no numbers on them. That is because the numbers appear in scrambled order on the Trezor device. By looking at which number sits in each position on the device, you know which button to click in the software on your computer.
That way, even if your computer has malware recording your clicks, it does not learn the PIN, because it only sees positions and not numbers.
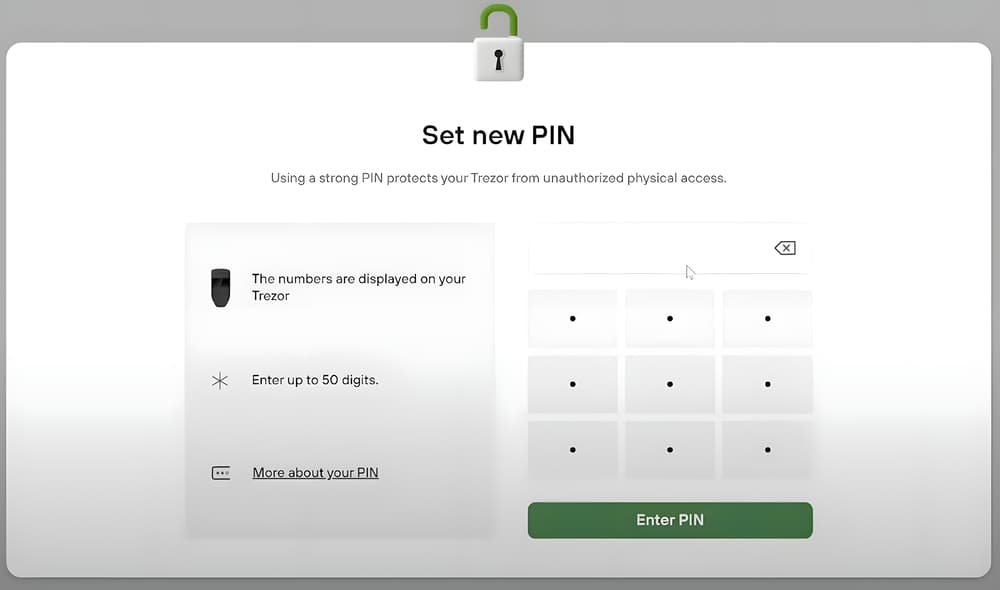
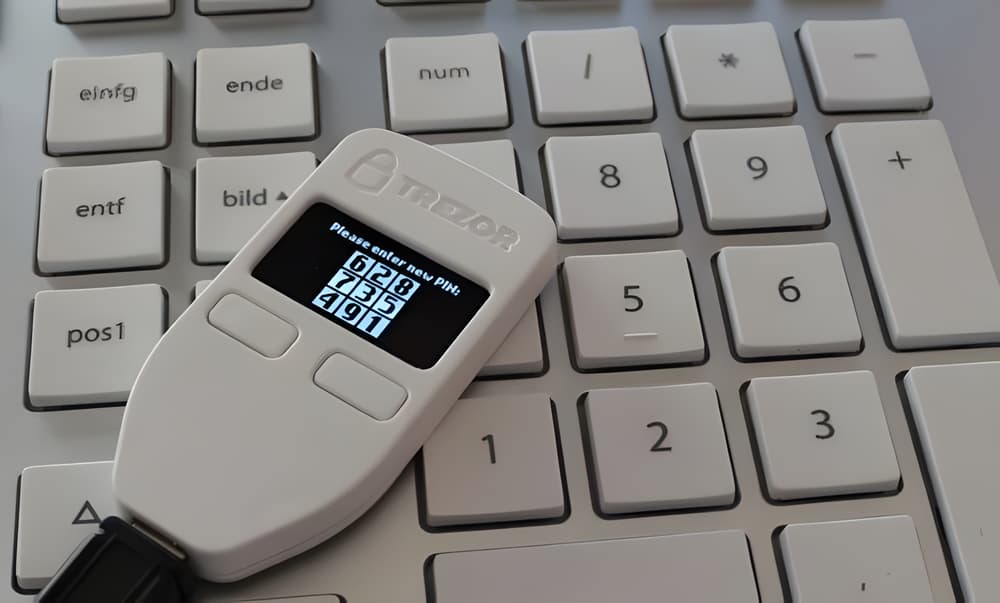
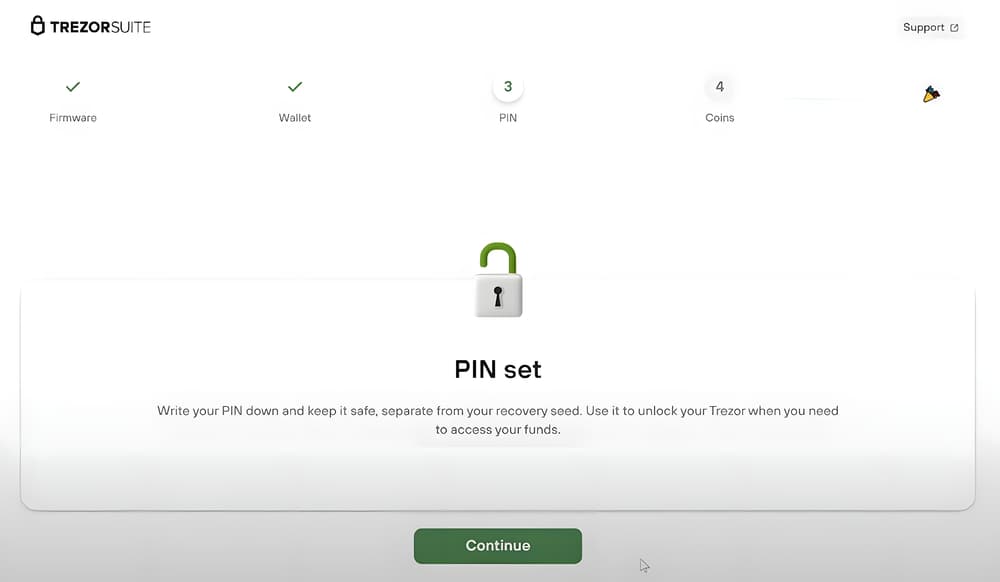
When you finish this step, you are asked to choose the same digits again. Take care this time, because the numbers on the Trezor have changed order again, so the pattern you click in the software will be different too. If you get it right, the software shows that your PIN was entered correctly, and clicking Continue takes us to the next step.
Choosing your coins
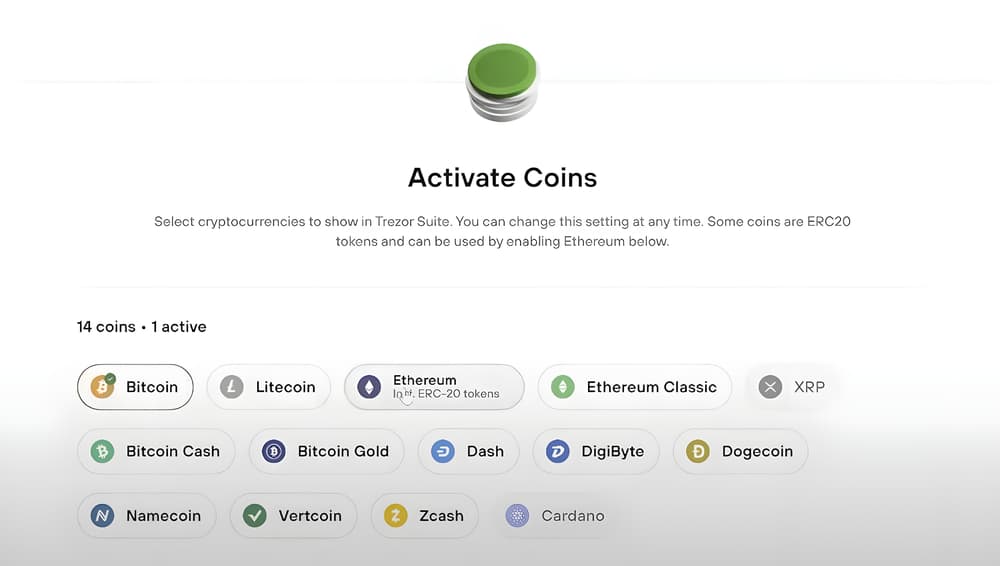
In the next step you choose which crypto you want to show on the device. For this walkthrough we choose Bitcoin, and once it is selected you click Complete setup at the bottom of the screen. You can change the list whenever you like.
Device name and wallet type
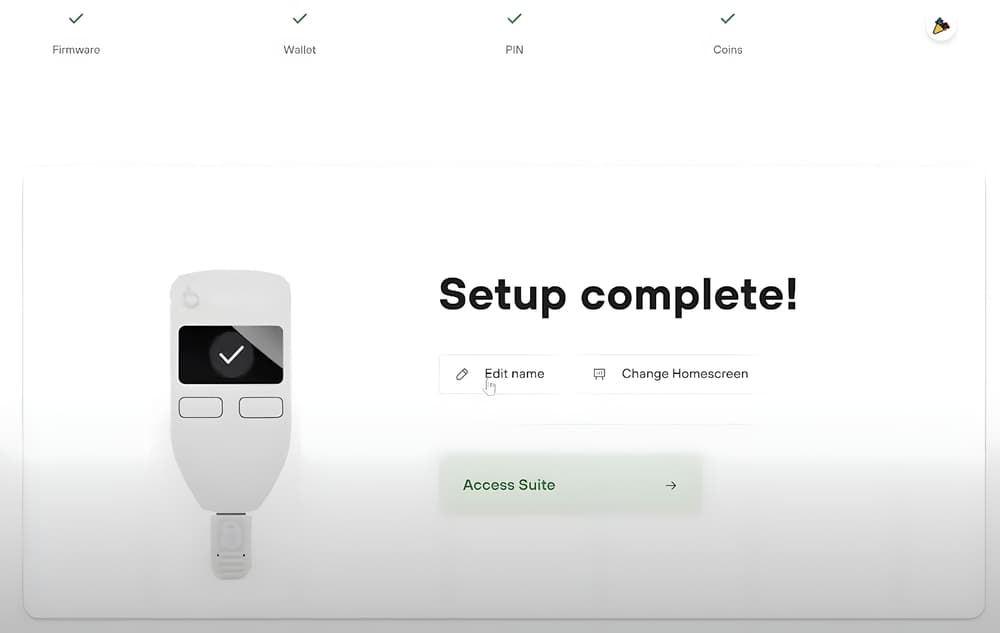
The next screen tells you the setup is complete. If you want, you can give your device a name, which you will also have to confirm on the Trezor itself. When you are done, click Access Suite.
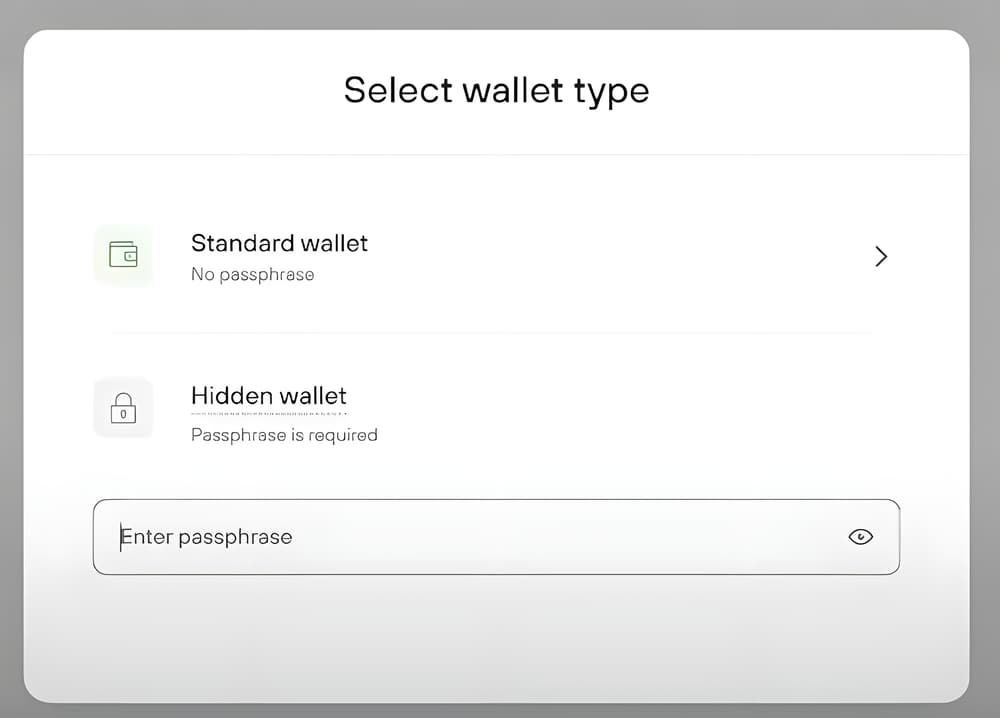
The final step is to choose between a Standard wallet and a Hidden wallet. A hidden wallet opens only with an extra phrase (a passphrase) that is not stored anywhere on the device. If you forget it, the money in that wallet is lost, so do not turn it on until you understand how it works. For this walkthrough we choose Standard wallet.
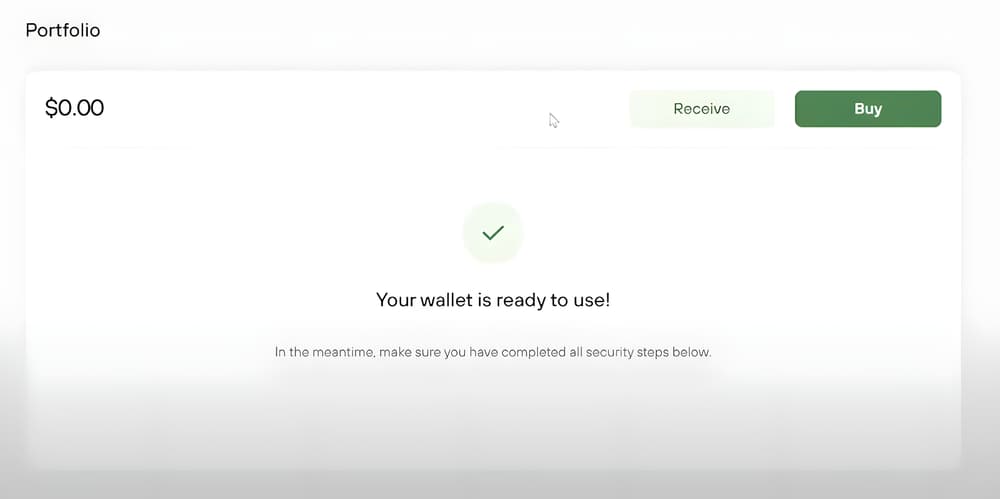
Once we choose it, the software shows that your wallet is ready to use, and you have finished setting up a Trezor wallet. Congratulations.
Before you send any money to it, run the backup check from the device settings, as the app itself advises.
Sources
- Trezor, "Get started with the Model One", trezor.io/learn
- Hongkiat, "How to set up Trezor: a beginner's guide", hongkiat.com
- Vault12, "How to set up a Trezor Model T", vault12.com
- Setup videos on YouTube: HDqT1pnyZmA, wruL9LF8AUA, qvvzJ8EHh5U
- CRYPTONEA 24, Trezor review 2026, for the current range of devices