CRYPTONEA 24
Cryptonea 24

Ledger: a step-by-step setup guide

From the box to the app's first screen: installing Ledger Live, setting the device up as new, the PIN, the 24 recovery words, checking them, and the short quiz at the end.

Screenshots from July 2023, text updated October 2026

Contents
  1. Before you start: what has changed since 2023
  2. What is in the box
  3. Installing the app
  4. The five screens of basics
  5. Setting up as a new device
  6. Setting the PIN
  7. The 24 recovery words
  8. Checking the words
  9. The three-question quiz
  10. The app's first screen
  11. Sources

The steps in this guide are the same for the Ledger Nano X and the Ledger Nano S Plus. The walkthrough uses the Ledger Nano X.

Before you start: what has changed since 2023

The screenshots were taken in July 2023. Three things have changed since:

  • The app's name. Ledger Live has been renamed Ledger Wallet. It is the same app and the steps are the same, but the screens look different.
  • The devices. The Nano S Plus and Nano X are reported to be out of production and sold while stocks last. The newer Nano Gen5, Flex and Stax have touchscreens, so where this guide says "press both buttons" you simply tap the screen.
  • Ledger Recover. During setup you may be offered this paid subscription. It is optional. The standard setup keeps your 24 words entirely offline.

Always buy from the official store or an authorised reseller, never a second-hand device. More on that in our Ledger review.

What is in the box

The Ledger Nano X box contains the items below.
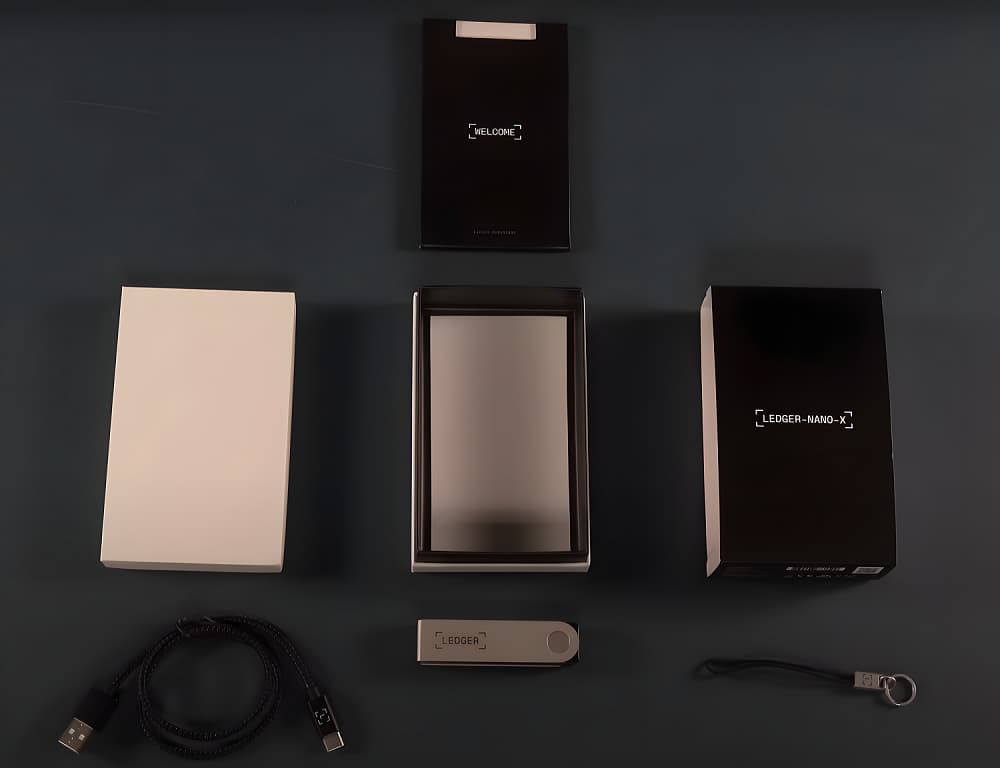
The Ledger Nano X box: the device, a USB cable, a lanyard, and the leaflets with the recovery sheets

Installing the app

Download the Ledger Live app (Ledger Wallet today) for your computer, on Windows, Mac or Linux. Be very careful to visit the right website, ledger.com, because there are a lot of scams out there.
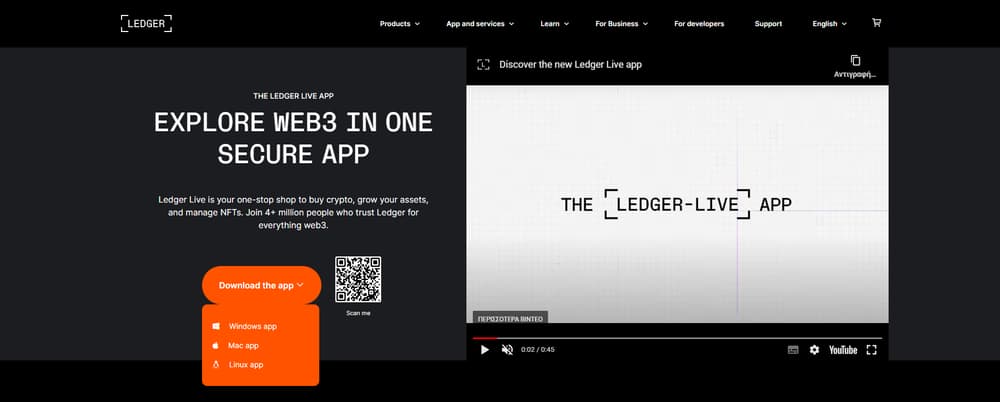
The Ledger Live download page on ledger.com, with the Windows, Mac and Linux versions

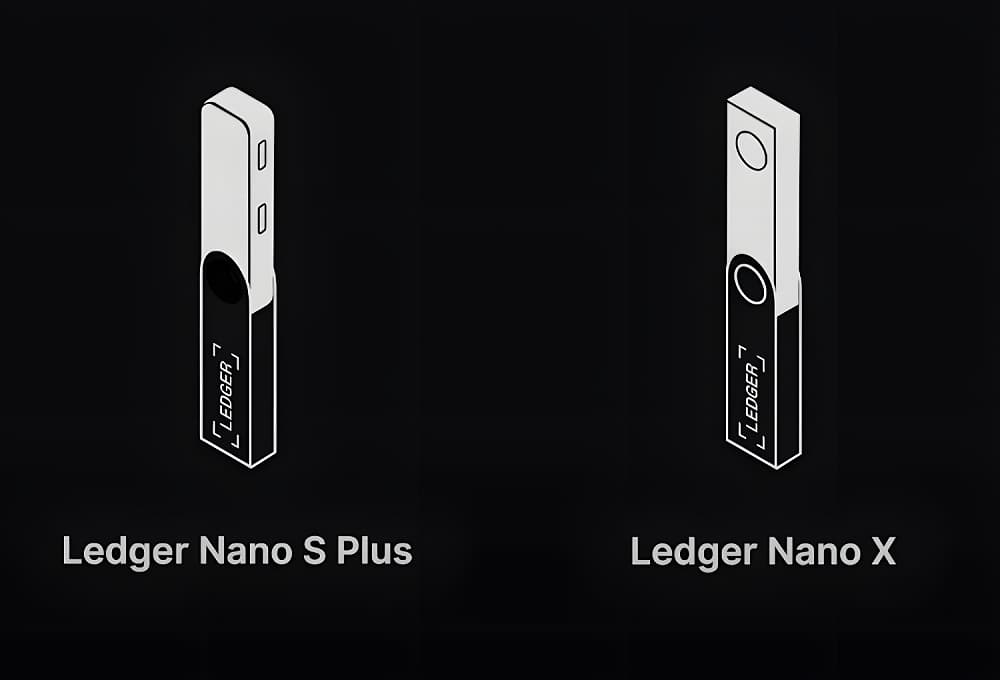
Once you have installed and opened the app, click Get started and choose which cold wallet you want to set up.
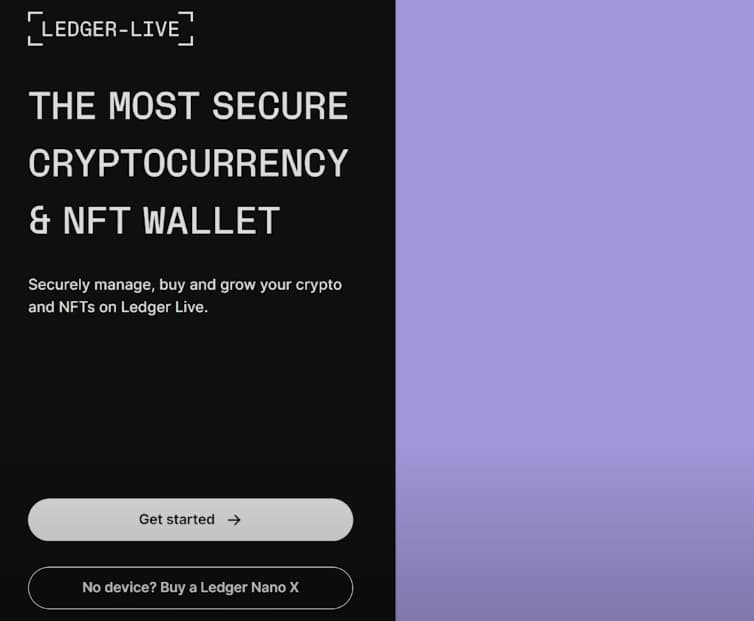
The Ledger Live opening screen with the Get started button
Choosing the device: Ledger Nano S Plus or Ledger Nano X

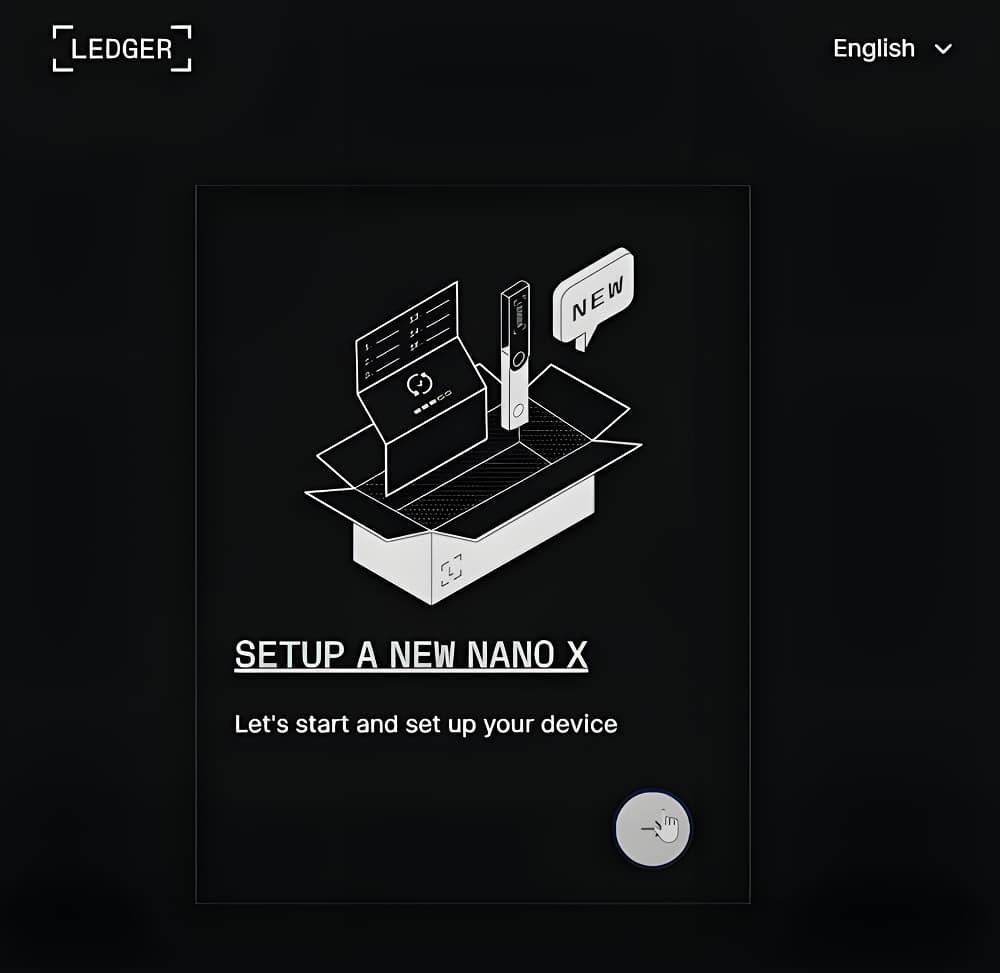
Then choose SETUP A NEW NANO X, which leads you through the rest of the instructions for setting up your wallet.
The Setup a new Nano X option

The five screens of basics

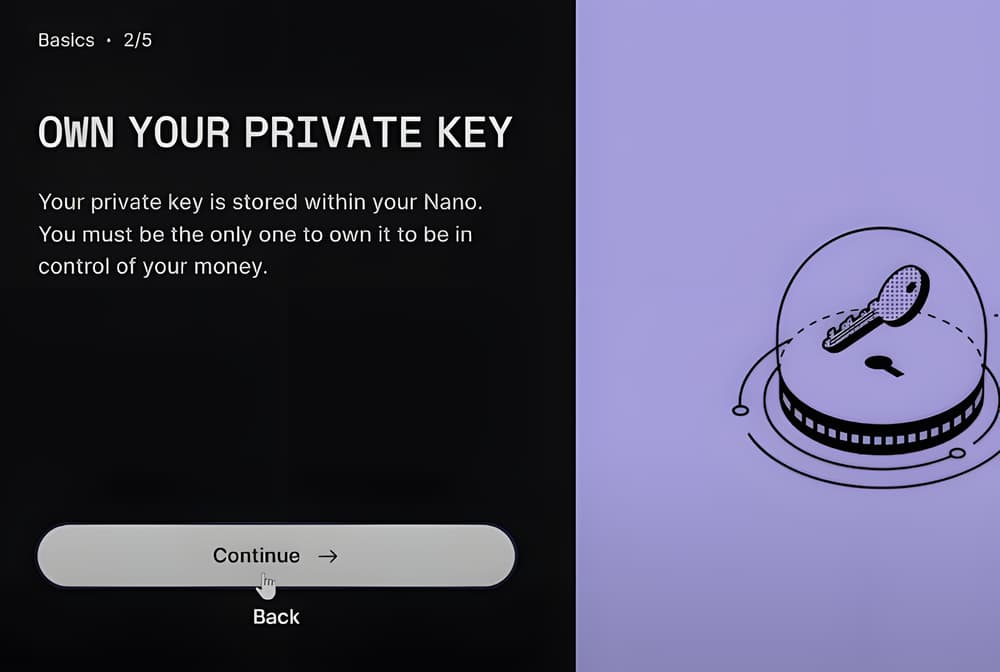
Next you go through 5 screens of useful information about hardware wallets. Click Continue on each one. They are worth reading: in five sentences they explain the whole logic of a hardware wallet.
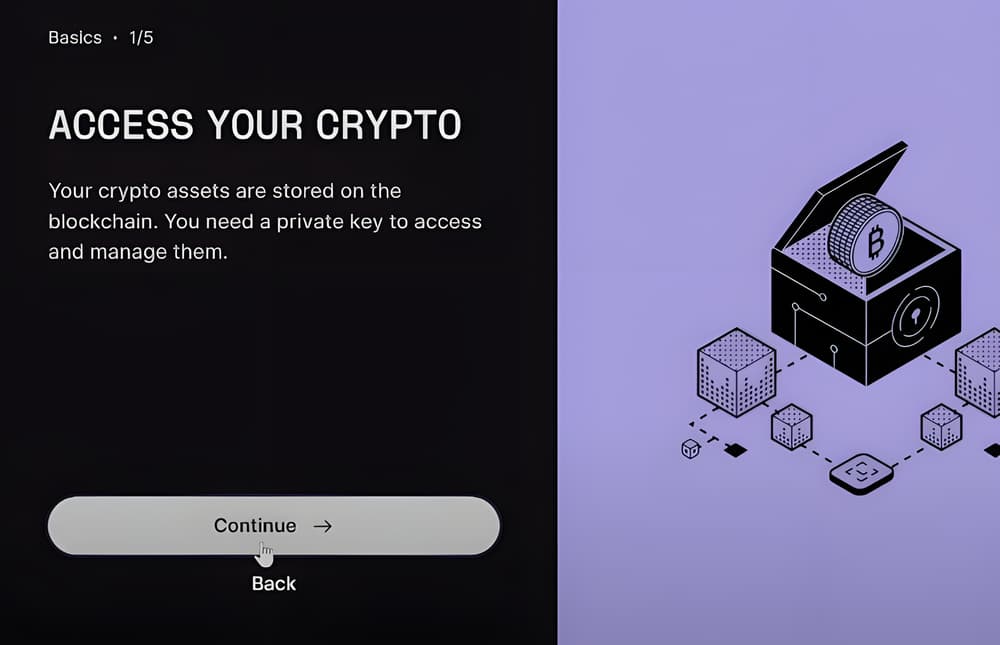
Basics 1 of 5: your crypto lives on the blockchain, and you need a private key to manage it
Basics 2 of 5: the private key is stored inside the device, and you must be the only one who has it
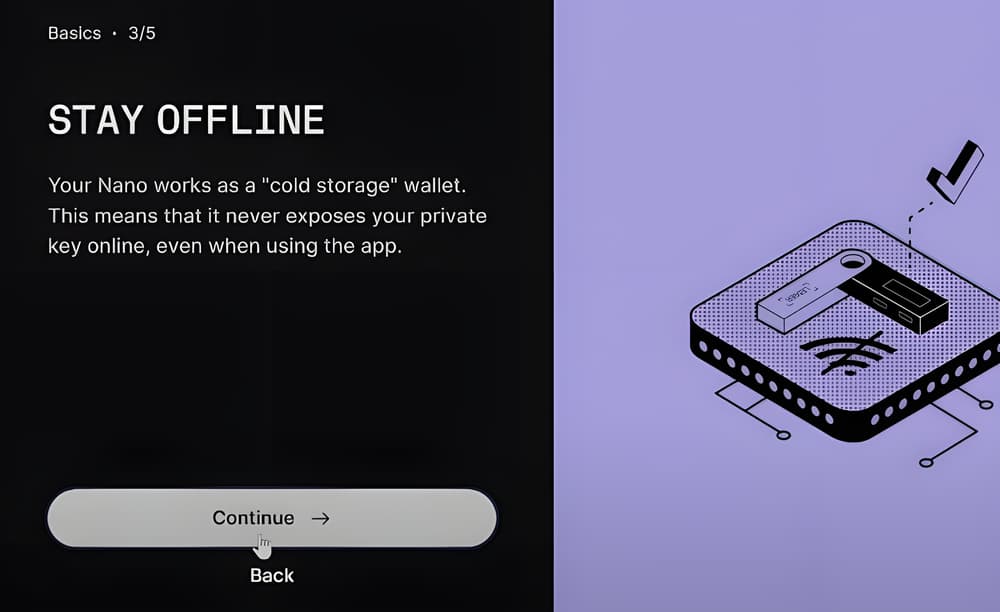
Basics 3 of 5: the device is cold storage and never exposes the key online
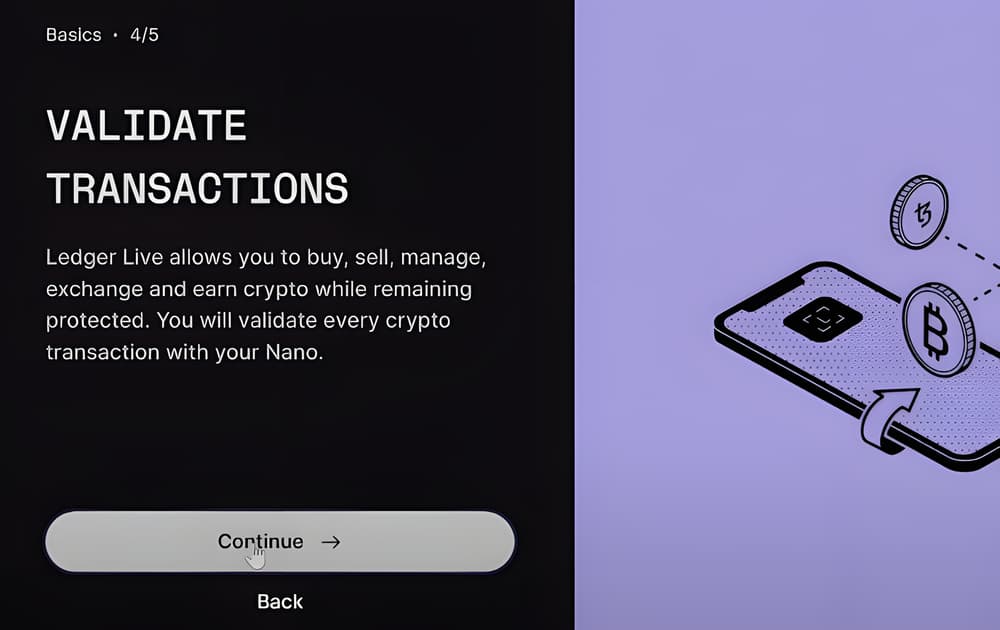
Basics 4 of 5: you approve every transaction on the device
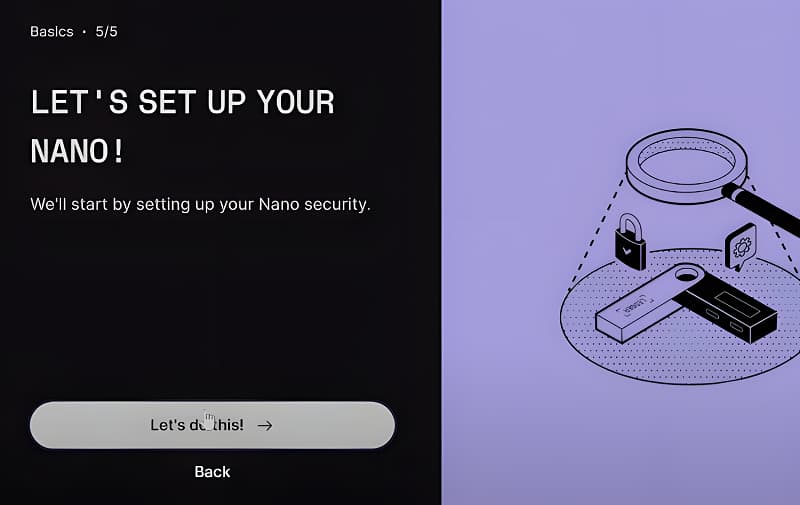
Basics 5 of 5: setup starts with the device's security

Then take a pen and paper and get ready to write down the 24 words your hardware wallet will give you. Click OK, I'm ready to continue.
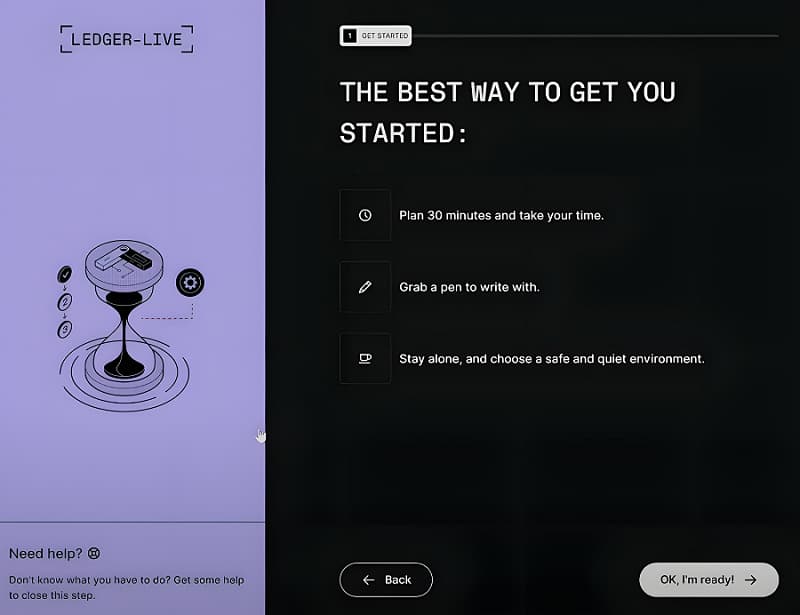
Before you begin: allow 30 minutes, have a pen, and be alone somewhere quiet

Setting up as a new device

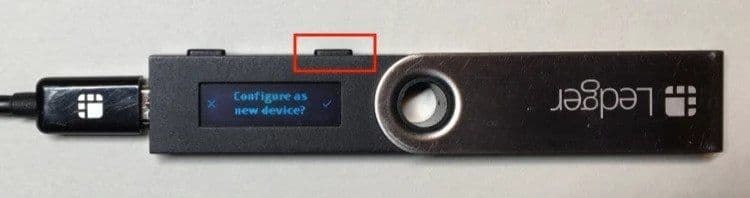
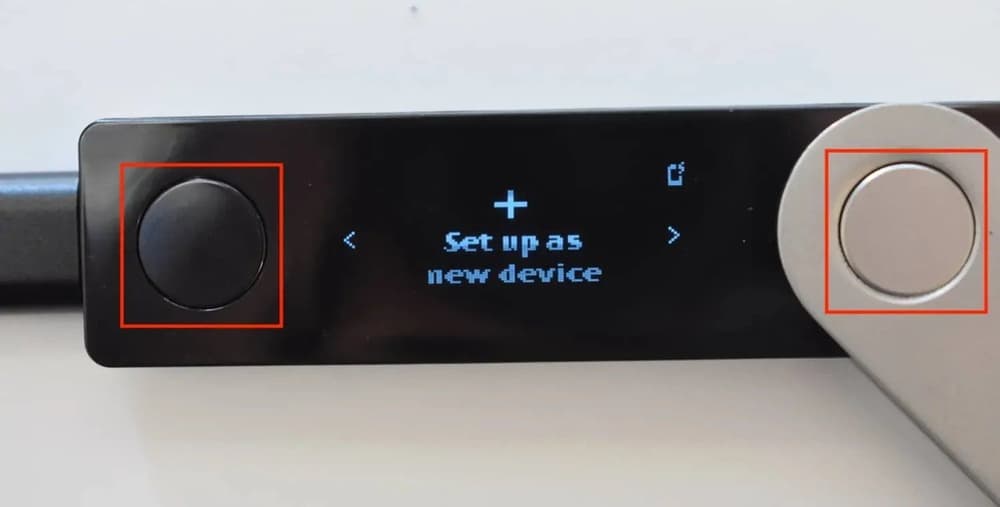
First, turn your device on by pressing one of its 2 buttons, and scroll through the menu until you find Set up as new device. To select it, press both buttons on the device at the same time.
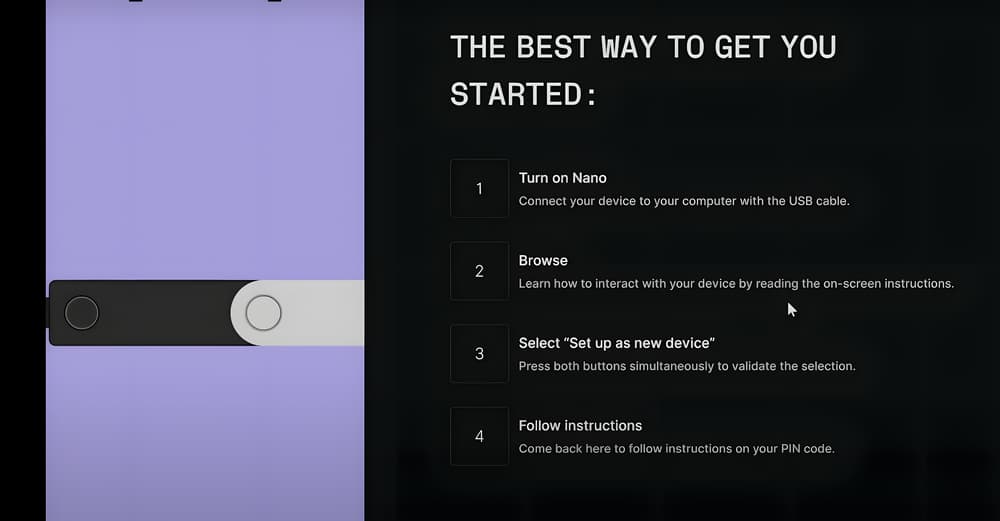
The app's instructions: turn the device on, browse, select Set up as new device by pressing both buttons
The Set up as new device screen on the Nano X, with the two buttons marked
The same question on an older Nano S: Configure as new device?

Setting the PIN

Next the device asks you to choose a unique PIN code, which secures the device itself from now on. Then it asks you to confirm the PIN you have just entered.
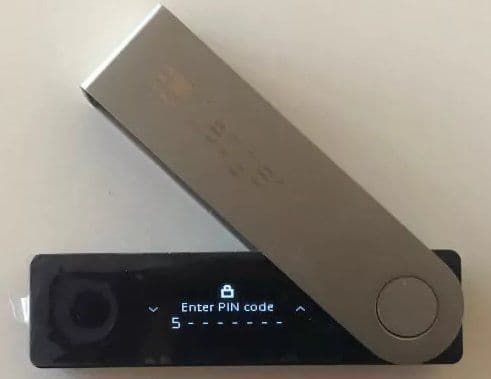
Entering the PIN on the Ledger device

Once you have entered your PIN, click Next step in the app. It shows you advice on what kind of PIN is best: not your date of birth and not 1, 2, 3. Note the rule that three wrong attempts in a row reset the device. Click Get started.
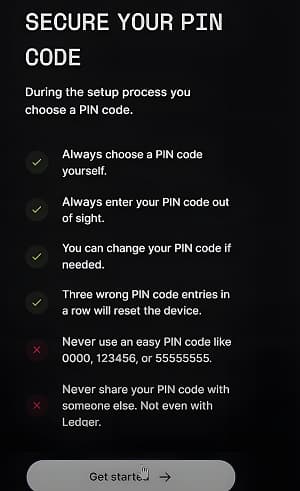
The PIN rules: choose it yourself, type it out of sight, three wrong attempts reset the device

The 24 recovery words

Next, confirm that you understand that if you lose your recovery phrase you will lose your crypto for good, and click the Recovery phrase button. The app will tell you it is time for the device to generate the 24 words, which you must write down in order.
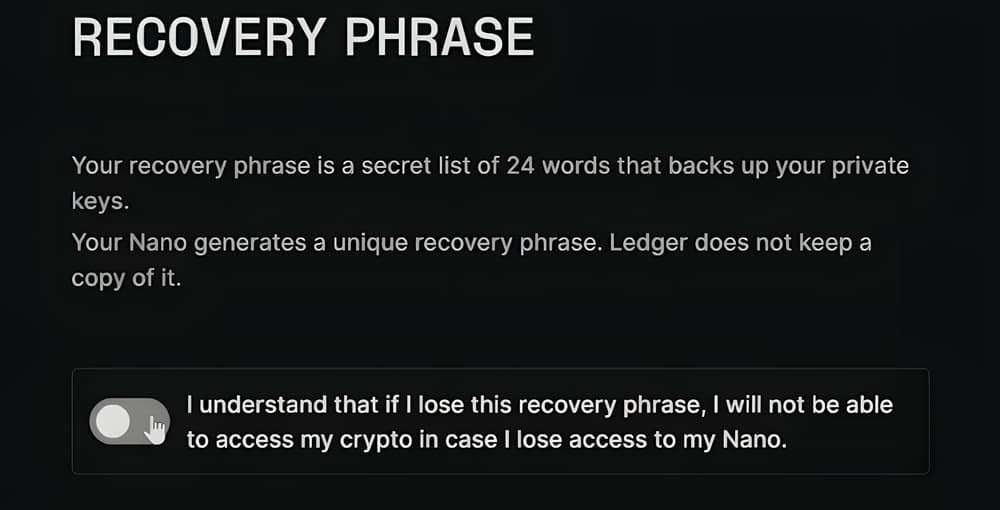
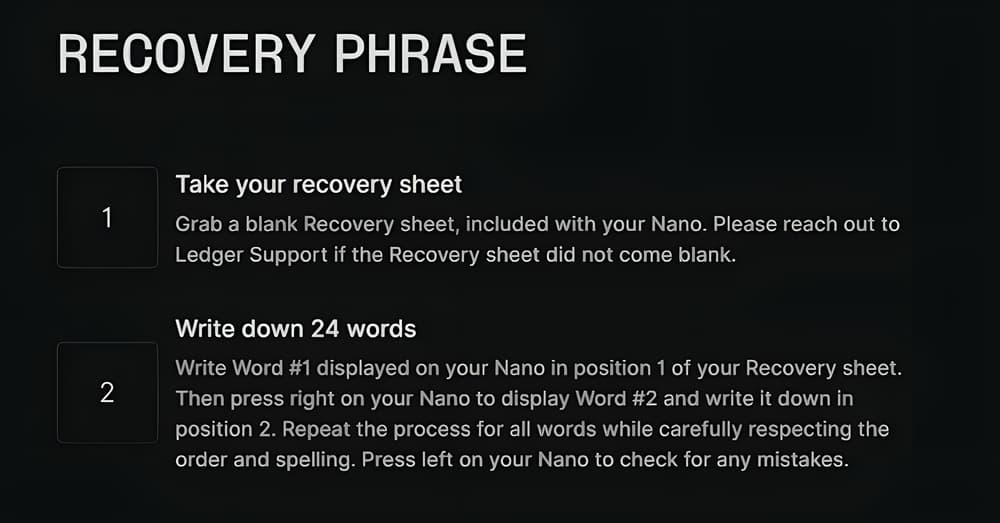
The recovery phrase: 24 secret words Ledger keeps no copy of, and the confirmation that losing them means losing the crypto
The writing instructions: take the blank recovery sheet and write the 24 words in the order the device shows them

Write the words only on paper, on the sheet in the box. Do not photograph them, do not type them anywhere, and do not store them on a computer or a phone. Ledger will never ask you for these words, not by email, not by phone and not by letter. Anyone who asks for them is a scammer.

Checking the words

Once you have written your words down, it is time to confirm them. The device asks for the words one at a time. To be more precise, it asks which word is the first, but does not show it to you. You scroll through the words the device displays until you find the first word it gave you, and confirm it by pressing both buttons at the same time. You do the same for all 24 words, which makes sure they are correct and written in the right order.

When you finish this step, your device is set up and ready. Congratulations.
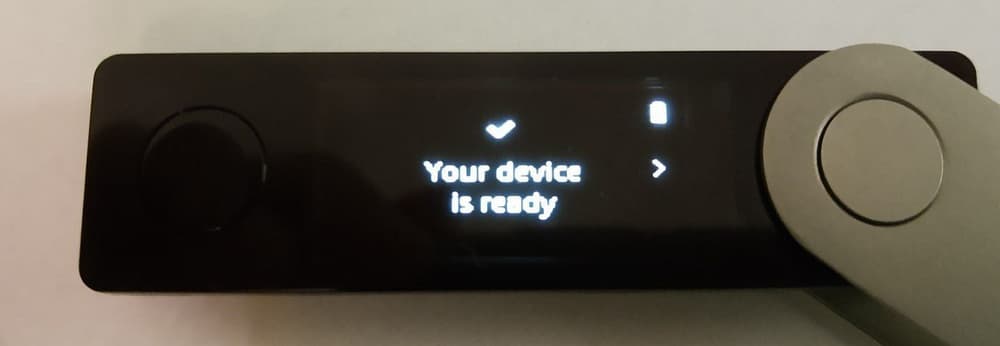
The Your device is ready screen on the Ledger Nano X

The three-question quiz

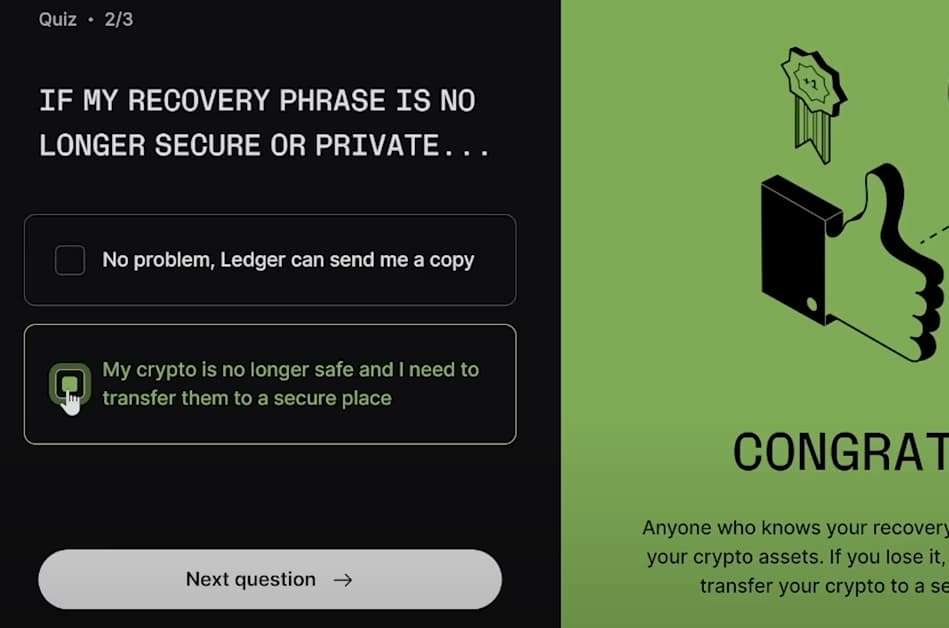
You are not quite done, though. The last step is to connect your device to the computer and answer a three-question quiz. The questions are simple, but the right answers are worth remembering.
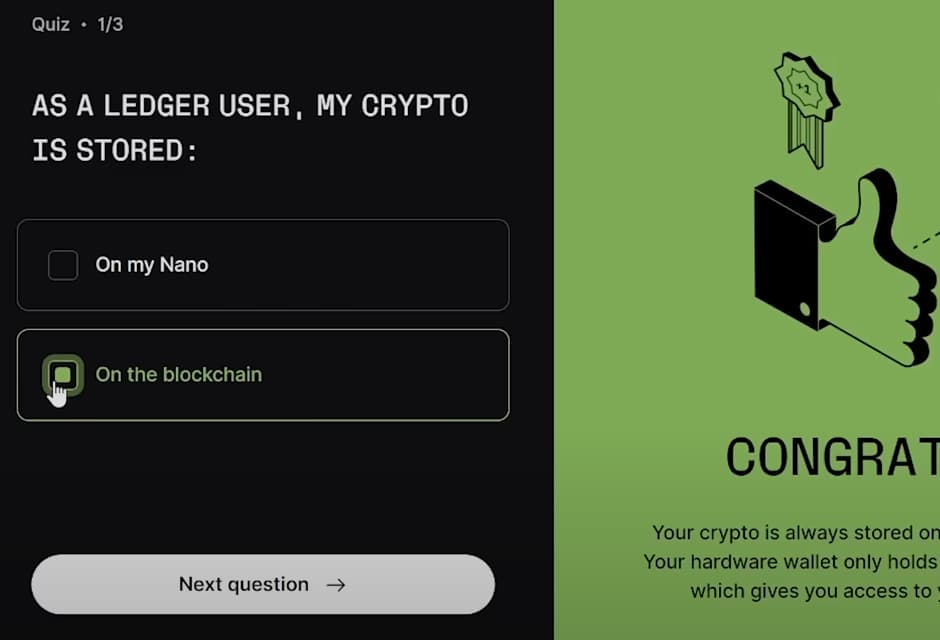
Quiz 1 of 3: your crypto is stored on the blockchain, not on the device
Quiz 2 of 3: if your recovery phrase is no longer secure, your crypto is at risk and must be moved at once
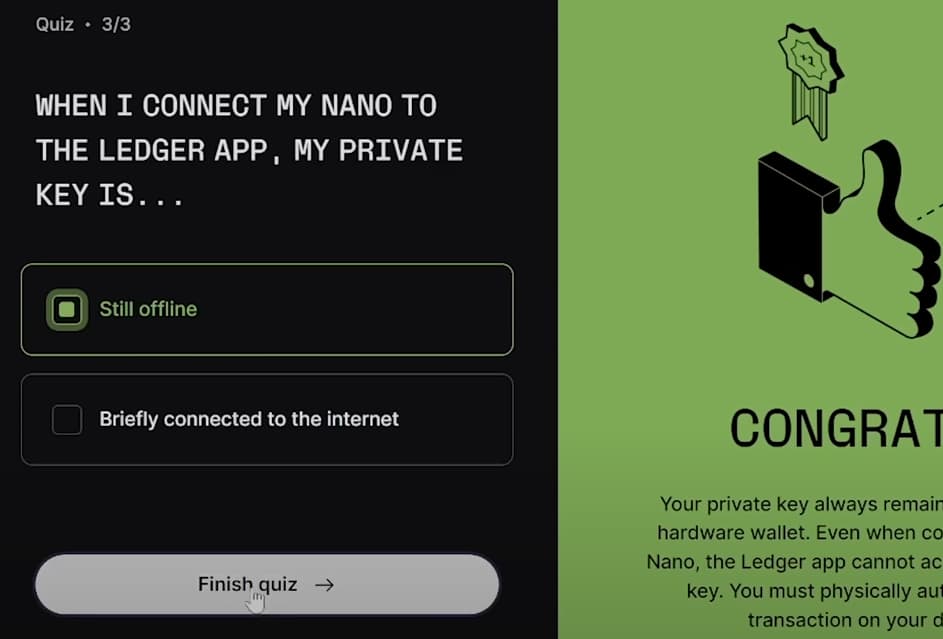
Quiz 3 of 3: when you connect the device to the app, the private key stays offline

The app's first screen

Finally, you disconnect and reconnect the device to the computer and enter your PIN again. This is the app's final screen, where you will manage all the crypto on your device.
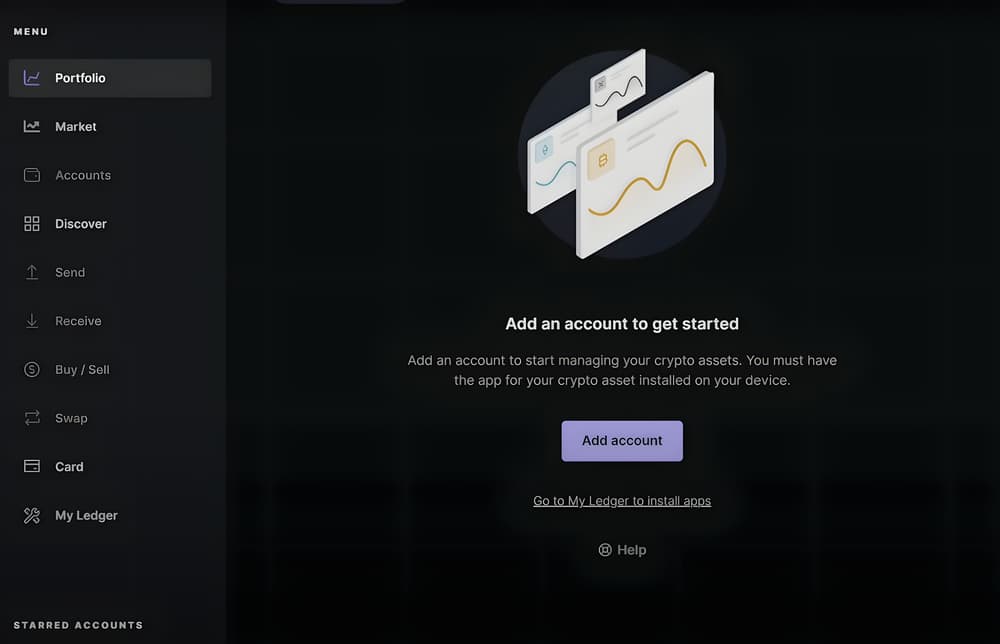
The first screen of Ledger Live: add an account to get started

To hold a coin, you first install its app on the device from the My Ledger section, and then add an account with the Add account button.

Sources

  1. Ledger Support, "Set up your Ledger Nano X", support.ledger.com
  2. Ledger Support, "Set up your Ledger Nano S", support.ledger.com
  3. Setup videos on YouTube: 44tqG5zacag, uHan0dxgQ4Y
  4. CRYPTONEA 24, Ledger review 2026, for the current range of devices, the app's new name and Ledger Recover

This article is educational and for general information. The facts in crypto move quickly, so verify them before you act on anything here. This is not financial advice.